An email list helps you nurture relationships, increase engagement, and drive conversions by keeping your audience informed and engaged with your brand. This method of lead collection provides a more personal way to communicate compared to social media, ensuring you have a direct line to your followers even if platforms change.
To build your email list, follow these procedure:
- Log into your Pushbio account and go to the "Link in Bio Page" tab from the left sidebar;
- Select the page where you wish to build an email list on;
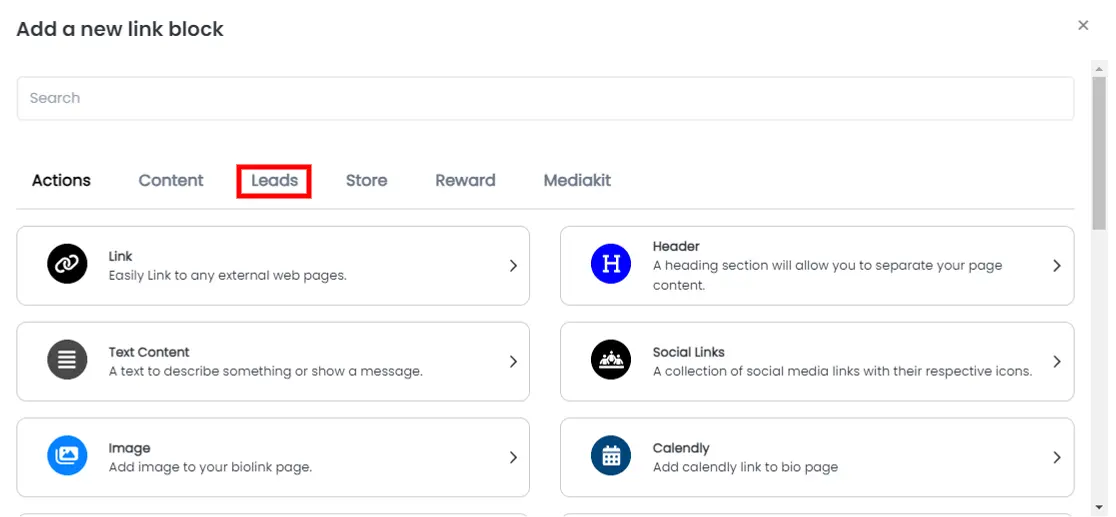
- Scroll down, click "Add Block," then go to the "Leads" tab;
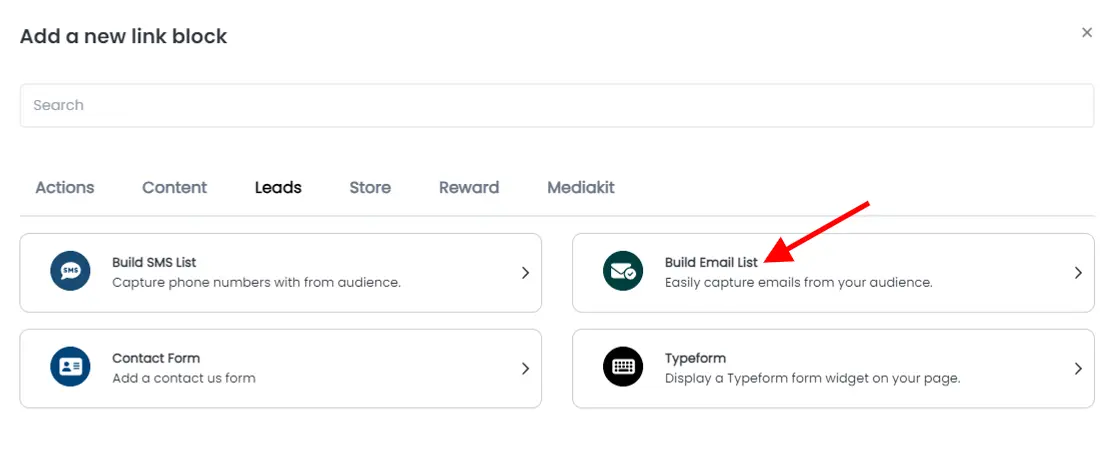
- From the blocks, choose "Build Email List"
Basic Tab
In the Basic tab, you can set up the following:
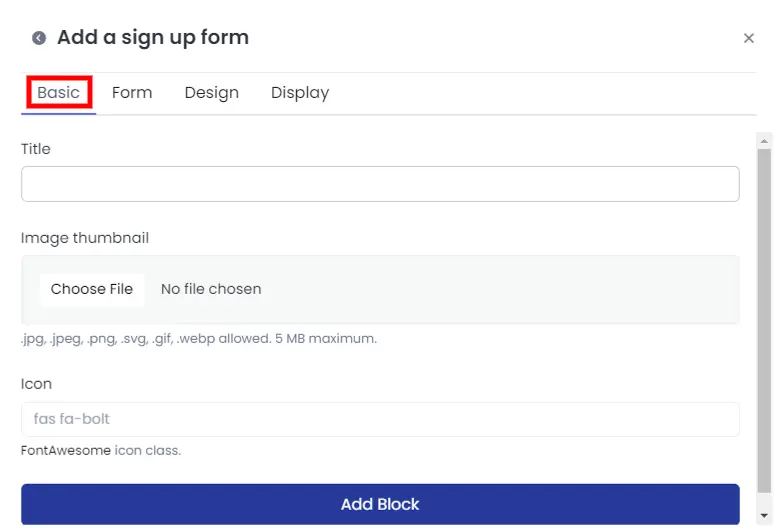
- Add a title or name for your email list button;
- Upload a thumbnail image for the button;
- Choose an icon from the FontAwesome library;
Once done, move to the next tab by tapping on the Form tab
Form Tab
On the Form tab, you can perform the following:
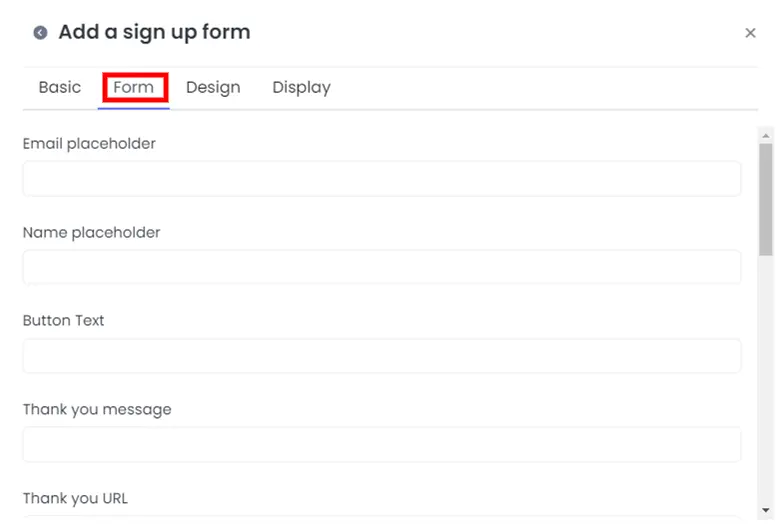
- Enter a placeholder digit for the email;
- Also, set a placeholder for the name of the audience filling your form;
- Add a text to your form button in the space provided;
- On the 'Thank you message' space, enter a few words to appreciate the audience for signing up for your list;
- Alternatively, you can redirect your fans to a thank you page by adding the URL to the page into the 'thank you URL' space provided;
- Toggle on the 'Show Agreement' button to display an agreement notice to the users;
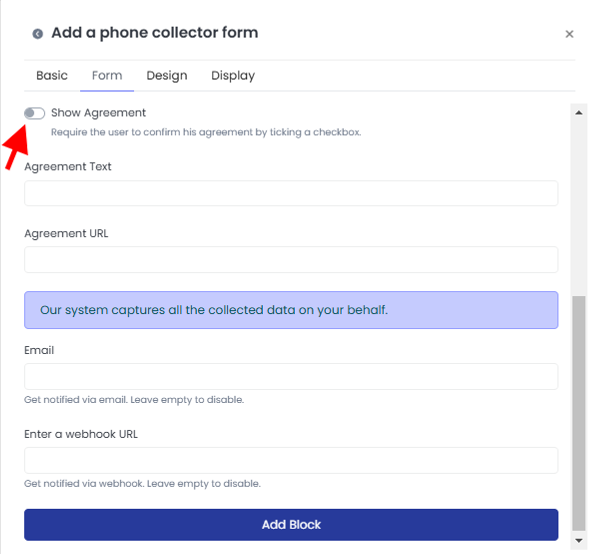
- If you switched on the show agreement button, fill the 'Agreement Text' box;
- Alternatively, if the agreement is available elsewhere online, add a link to it in the 'Agreement URL' box;'
- You can also choose to integrate ylour fail woth Mailchimp by entering your Mailchimp API key in the box provided;
- If you wish to receive notification by mail, enter your email into the space labelled 'Email';
- We've also provide the 'webhook URL' option if you wish to be notified via this method instead;
After this, move to the Design tab.
In the Design tab, you can:
- Select text and background colors;
- Adjust the text alignment (left, center, right, justify);
- Set animation, border colors, widths, and styles;
- Modify shadow settings like blur, offset, and spread;
Then, go to the Display tab.
In the Display tab, you can:
- Set the date range when the email list link will be live;
- Choose specific countries, devices, browser languages, or operating systems to target;
Leave any fields blank to make the link accessible to all.
Once all settings are done, click "Add Block" to include the 'Email List' on your bio link page.