Managing your created vCard links on your Pushbio page is essential for keeping your contact information organized and up-to-date. It ensures your audience can easily access your details, like phone numbers, email, and social media profiles, in one convenient location.
Regular updates help maintain professionalism, improve accessibility, and foster better communication with clients or followers. This feature simplifies sharing your contact info while giving you full control over its visibility and accuracy.
Below is how you can manage your Vcard links:
- Login to your Pushbio account;
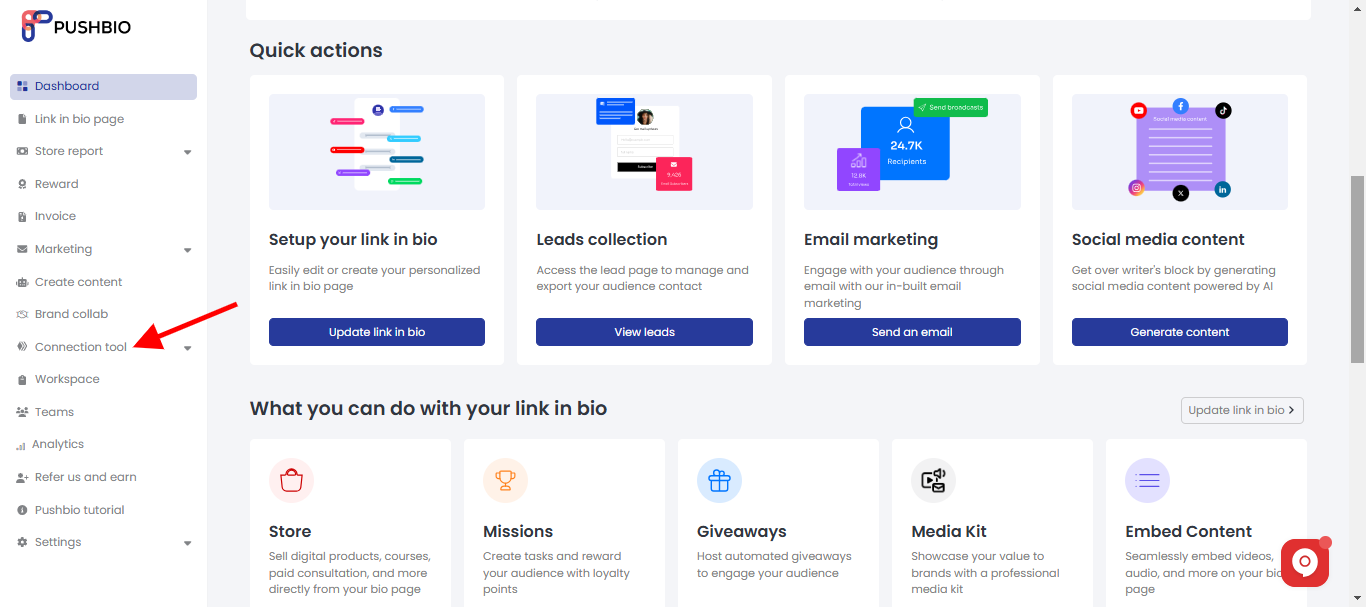
- Click on the 'connection tool' option located on the left sidebar menu;
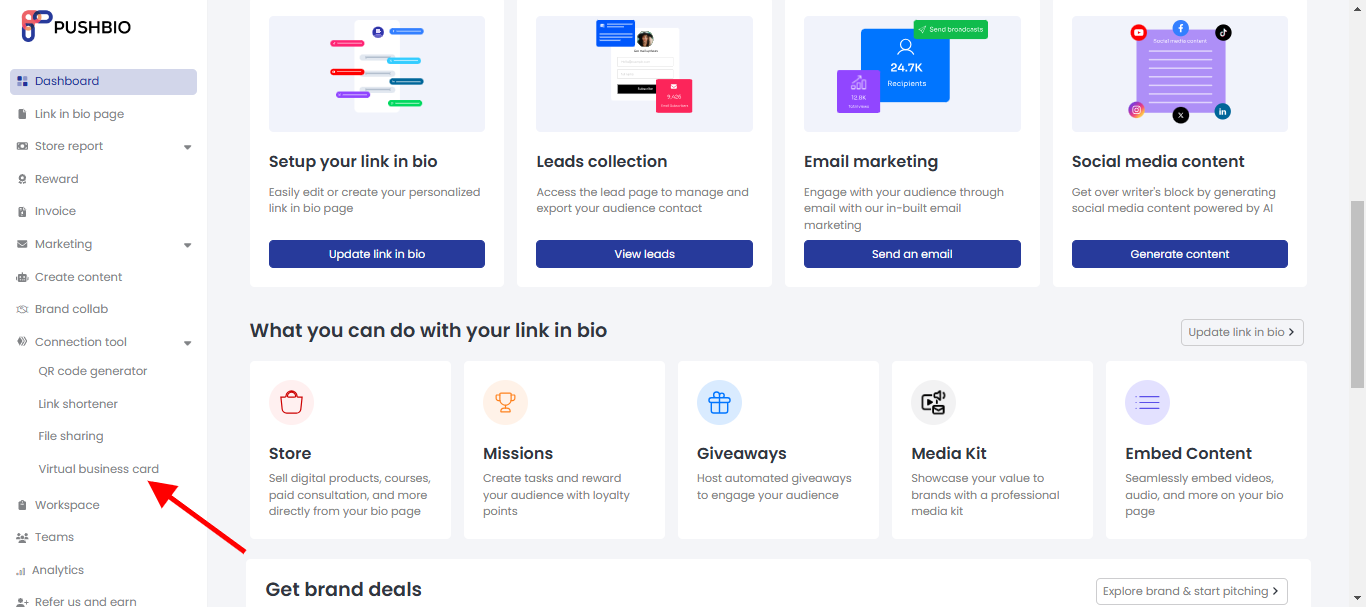
- Select 'Virtual business card' option from the dropdown list;
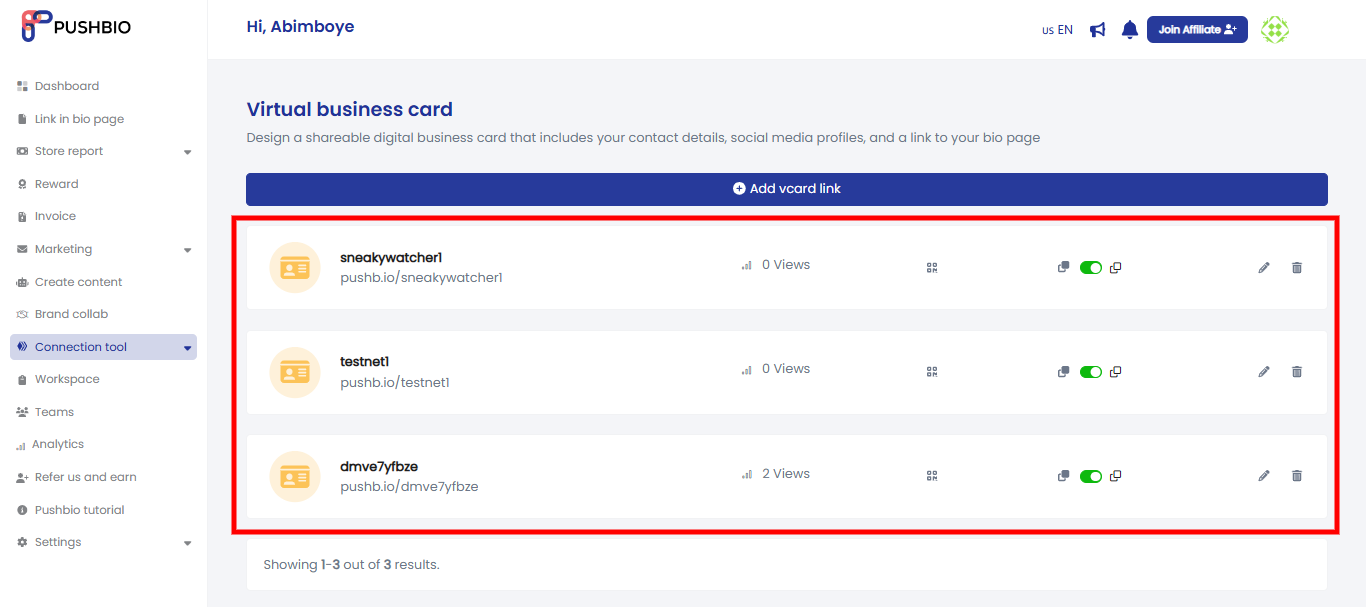
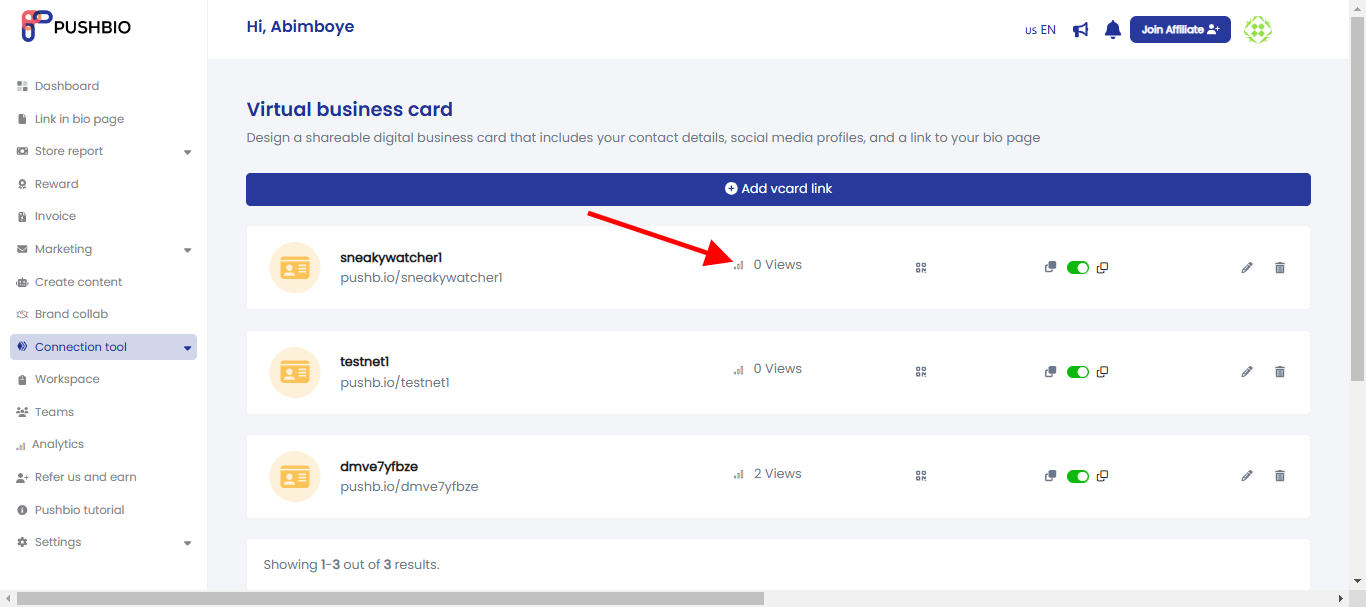
- On the next page, a list of your created vcard links will be displayed;
- In front of each vcard link are a series of action buttons;
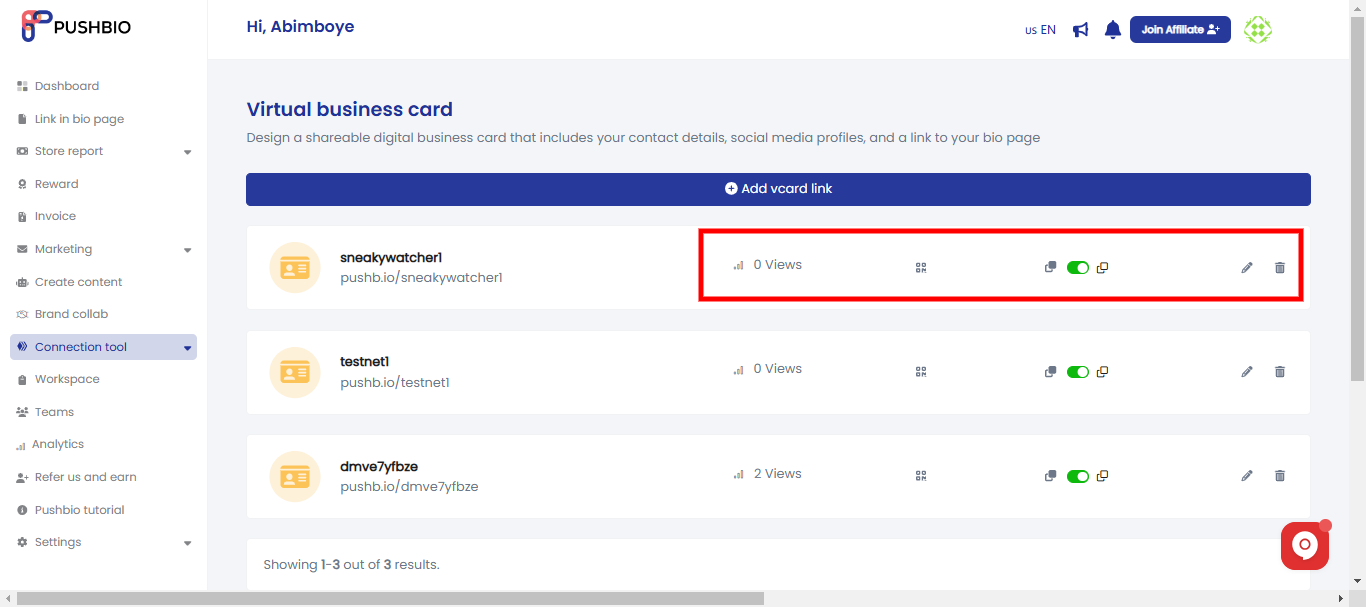
- Turn your vcard link into a QR code by clicking on the qr code icon;
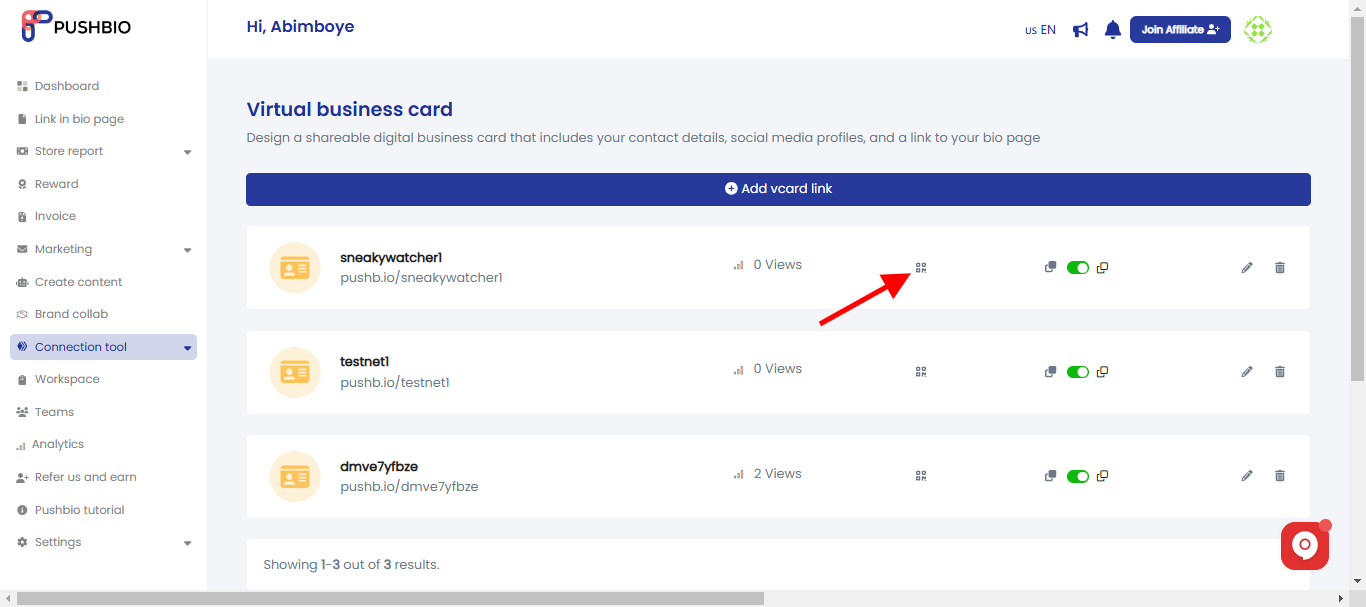
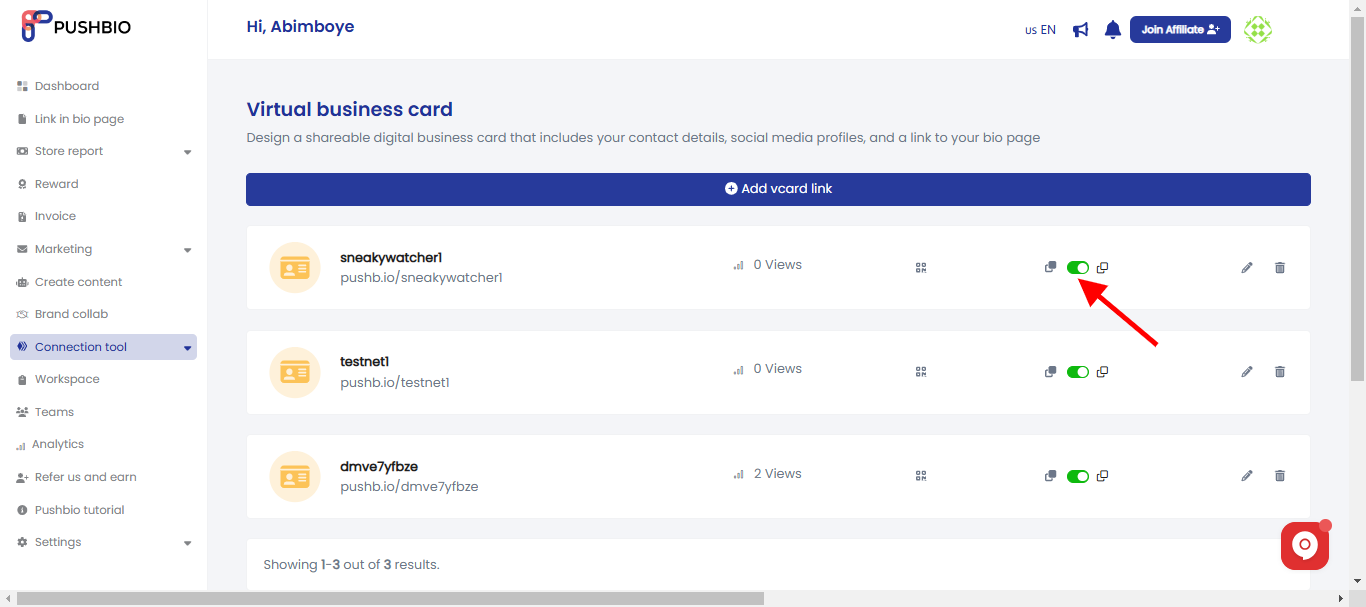
- Additionally, use the toggle switch to change the status of your vcard link. By default, your vcard links are set to on;
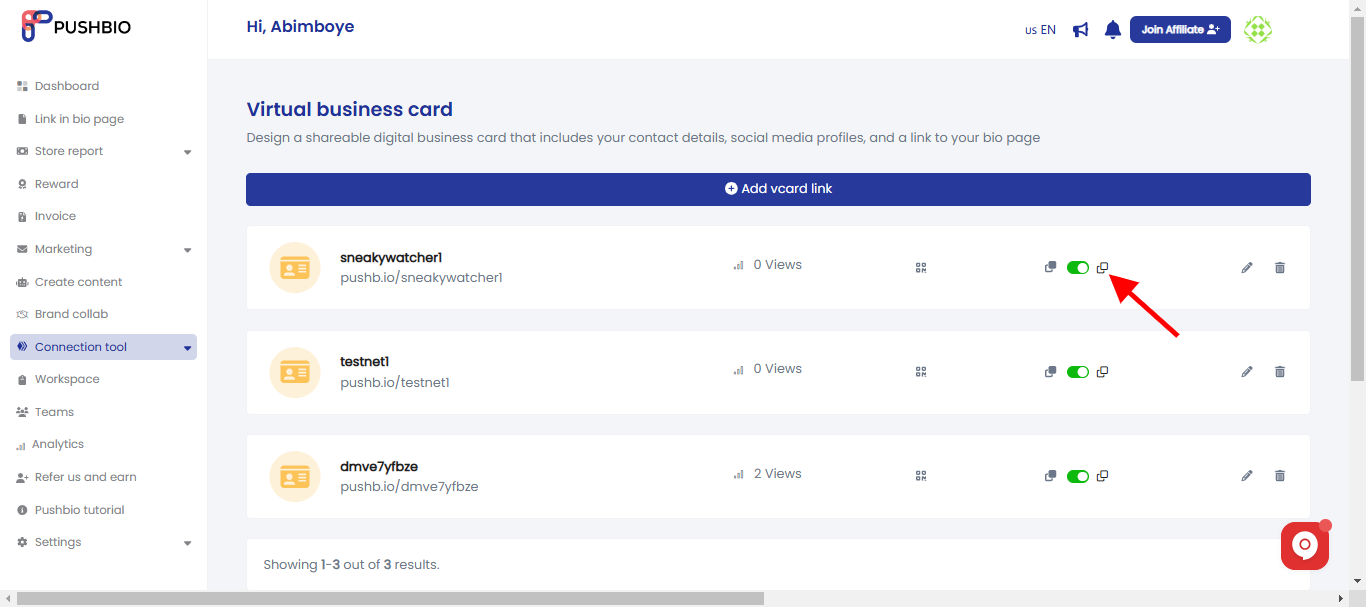
- You can also use the duplicate icon to quickly replicate your vcard link;
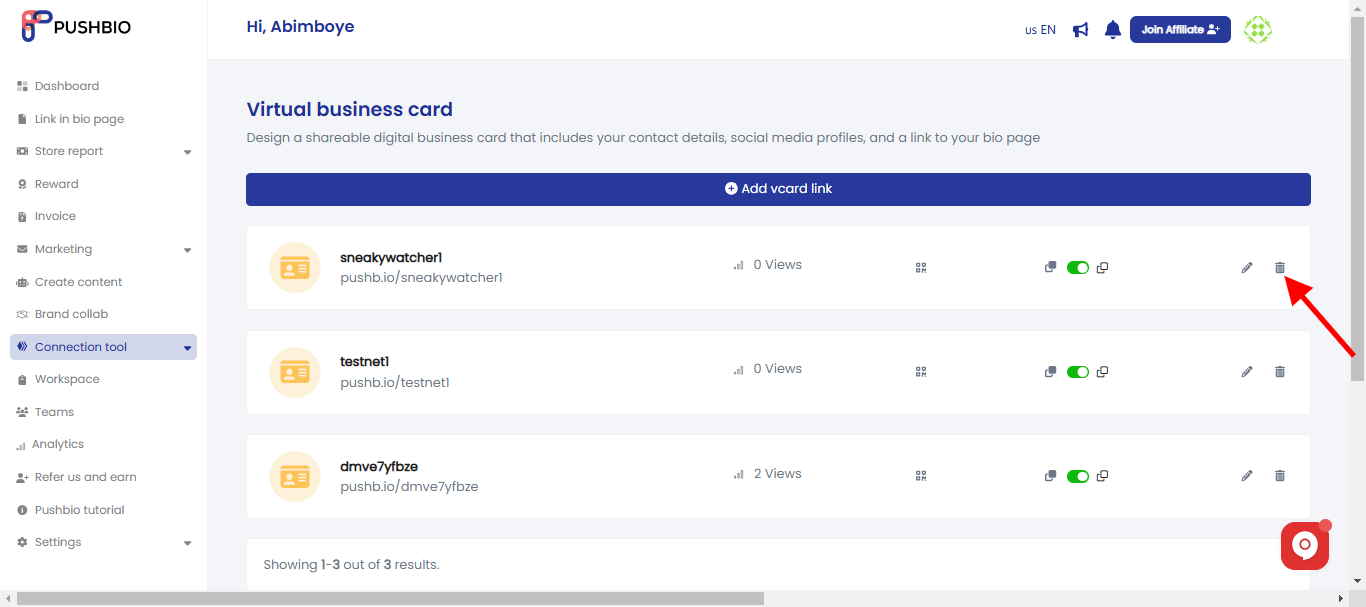
- To delete a vcard link, click on the bin icon in front of the specific vcard link;
- You can use the graph icon to naviagte to the analytics page of the specific vcard link;
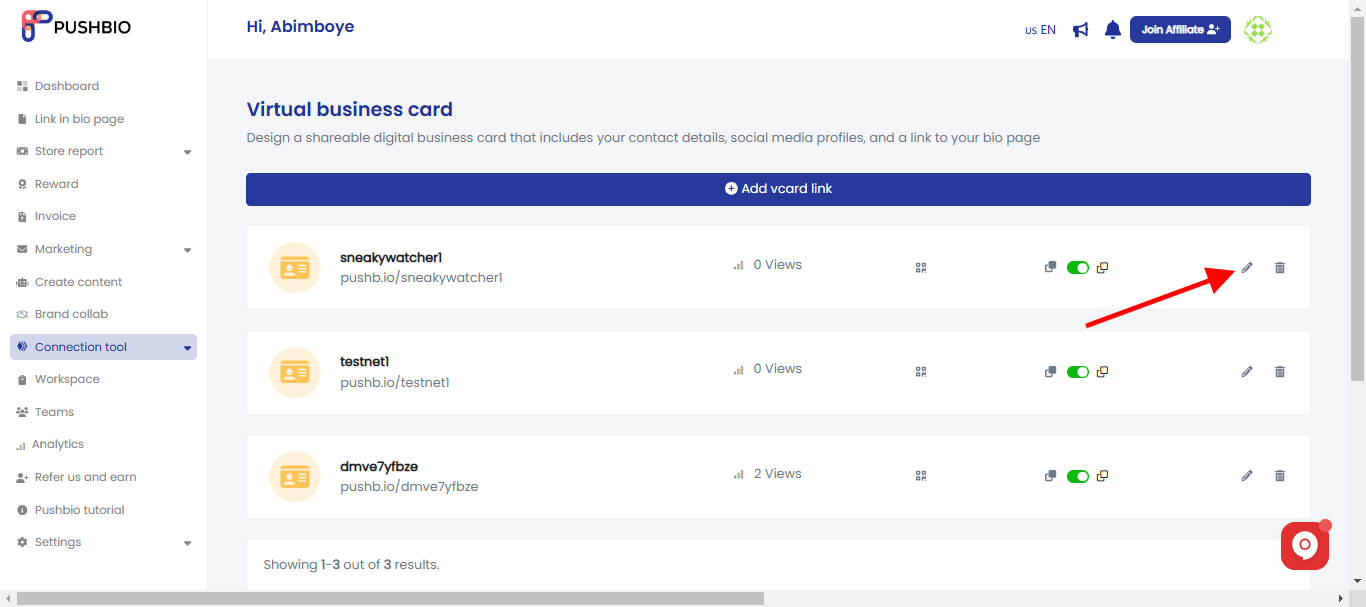
- To edit a vcard link, scroll to the link and click on the pencil icon in front of it;
- On the next page, you can set Pixels, Protection, Temporary URL, and Advanced options;
- Once you are done, click on the 'Update' button to save your changes.
Read More: