Missions give your audience specific tasks to complete, like sharing your content or signing up for a service, creating a fun and interactive experience. Rewarding them with loyalty points adds an incentive, motivating users to stay engaged and take action.
This system helps build a loyal community, enhances audience retention, and ultimately supports your growth by encouraging consistent participation and promoting long-term connections.
Here is how to create missions on your link in bio page:
- Log in to your Pushbio account and go to the 'link in bio page' section from the left menu.
- Find and select the page you wish to add missions to.
- Under the 'My Bio Page' tab, click on the 'Add Block' button.
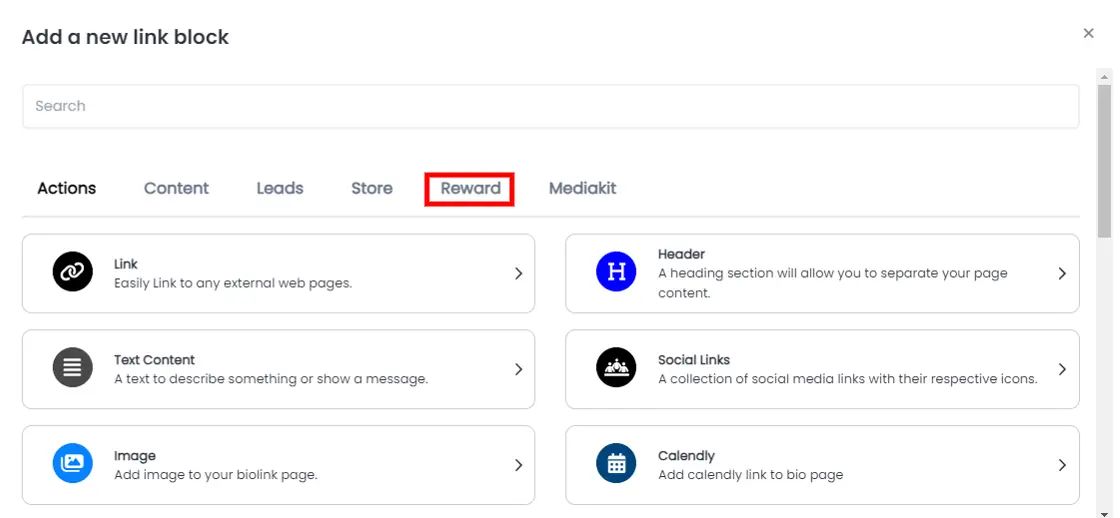
- Choose 'Reward' to see all available reward blocks.

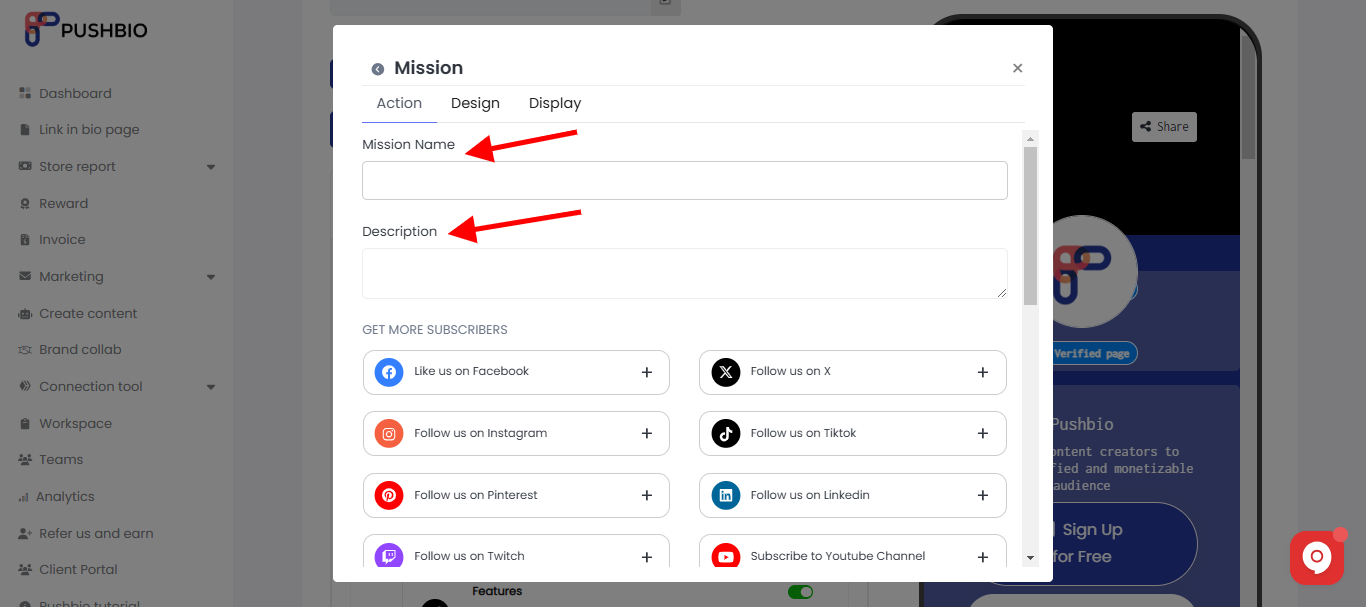
- Click on the 'Mission' block to open its settings page.

Once on the settings page, you can perform several customizations using the following tabs:
Actions Tab
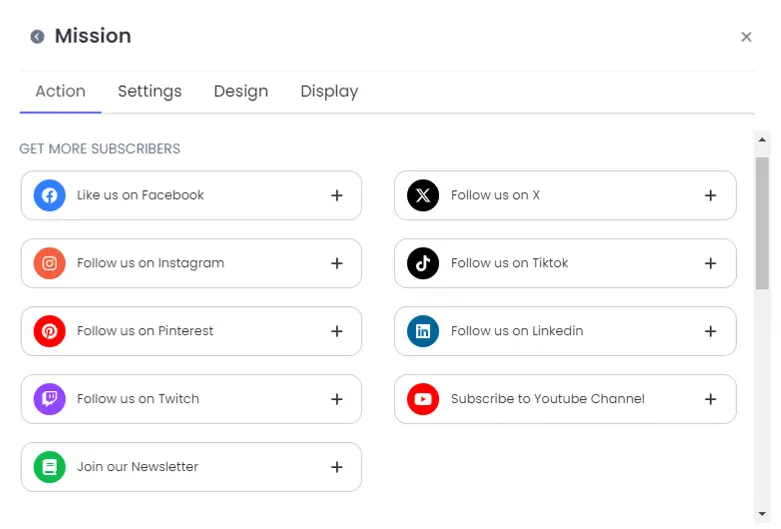
You can create mission to get more subscribers, drive engagement, grow traffic, or add a custom mission.
- Fill the 'Mission name' and 'Description' box;

- Next, scroll to the appropriate mission type and select your preferred platfom for the mission;

Each category comes with prefilled action buttons tagged to specific social media platforms.
- Once you've determined your mission, click on the appropriate button to create:
- Enter a title in the 'Title' box;
- Add clear and simple description of the mission to the 'Description' space;
- Enter the relevant page name or username in the space provide for username;
- Paste a link to the page in the URL box;
- Enter the number of points for the mission;
- You can upload an image to help guide your audience on what is expected of them;
Design Tab
In the design tab, you can edit:
- Choose text and background colors;
- Adjust text alignment (left, center, right, justify);
- Set animation and border settings, including color, width, and style;
- Modify shadow properties like blur, offset, and spread;
Display Tab
In the display tab, you can configure:
- Set the date range when the 'mission' link will be active;
- Select countries, device types, browser languages, and operating systems where the mission block will appear.
Once you’ve configured everything, click "Add Block" to add the 'Mission' to your page.