Adding a tracking pixel helps you gather essential data about your visitors, giving you insights into their behavior. With this data, you can improve your marketing strategies and retarget your audience more effectively.
By integrating a tracking pixel, you can monitor how visitors interact with your page, allowing you to create personalized ads that reach the right people. This not only boosts engagement but also increases your chances of conversions.
How to Create Tracking Pixel
- Login to your Pushbio account and click on the 'link in bio page' tab on the left-vertical menu bar;
- Scroll to the biolink you wish to add a tracking pixel to and click on the name of the bio page;
- Click on the 'Tracking' tab;
![]()
- In front of Pixelx, click on the 'create pixel' button;
![]()
- You will be redirected to the pixel page where you will have to click again on the 'Create pixel' button;
![]()
- Enter a name in the 'Name' box provided;
![]()
- Next, select the type of pixel you wish to create;
- Input the pixel ID linked to the pixel type selected;
- Finally, click on the 'Create' button.
How to Add Tracking Pixel to Your Page
Once you are done creating your tracking pixel, here is how to add it to your page:
- Repeat steps 1 -3 from above;
- Under this tab, you’ll find all the pixels you've created;
- Simply check the box next to each pixel name to choose which ones to add to your page.
![]()
With the steps above, you can easily manage and integrate your selected pixels with your biolink page seamlessly.
How To Add UTM Parameters to Your Page
UTM parameter is useful to traffic from a specific source. For example, you want to track traffic that comes from your Instagram to your biolink page.
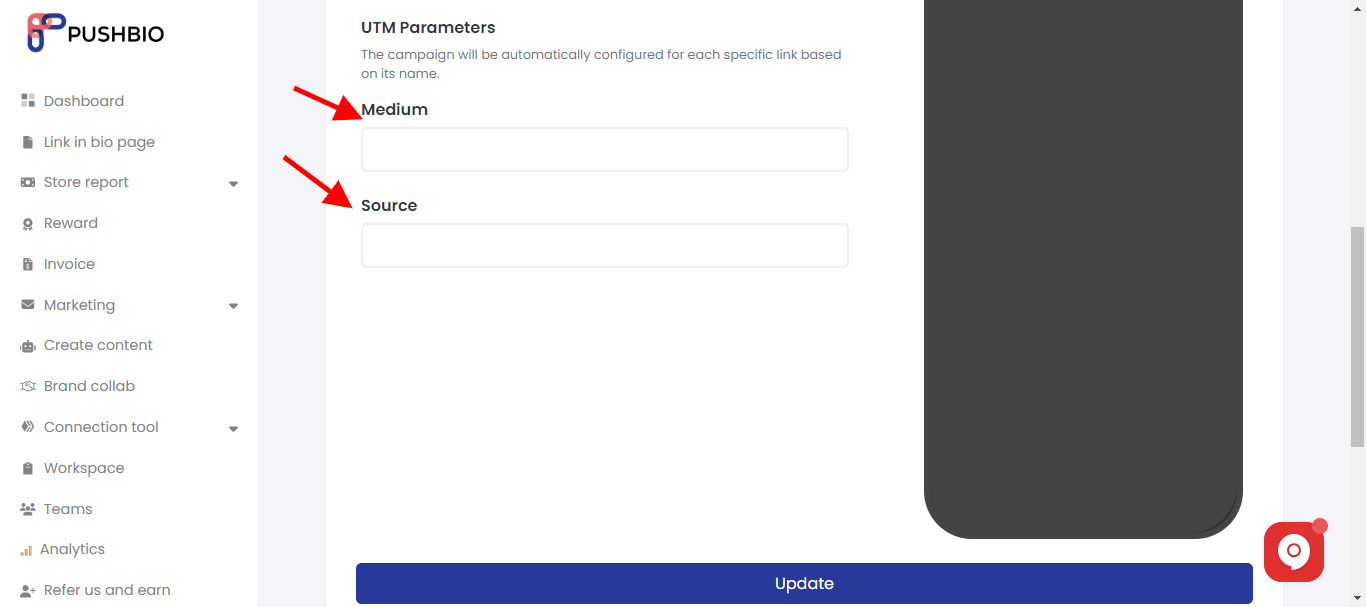
- On the 'Tracking' page, scroll to the 'UTM Parameters' section;
- Fill the 'Medium' and 'Source' boxes with the appropriate information;

- Once you’ve filled in the necessary details, simply save or update the settings to ensure everything is applied correctly.