Creating a file link lets you share specific files without granting access to the entire directory. And as a creator, you will constantly be in need of such powerful features.
Pushbio lets you do this by allowing you to create links to files that are important to you for easy access by those you share your links with.
To create a file link:
- On your Push Bio Dashboard, navigate to the mid-page
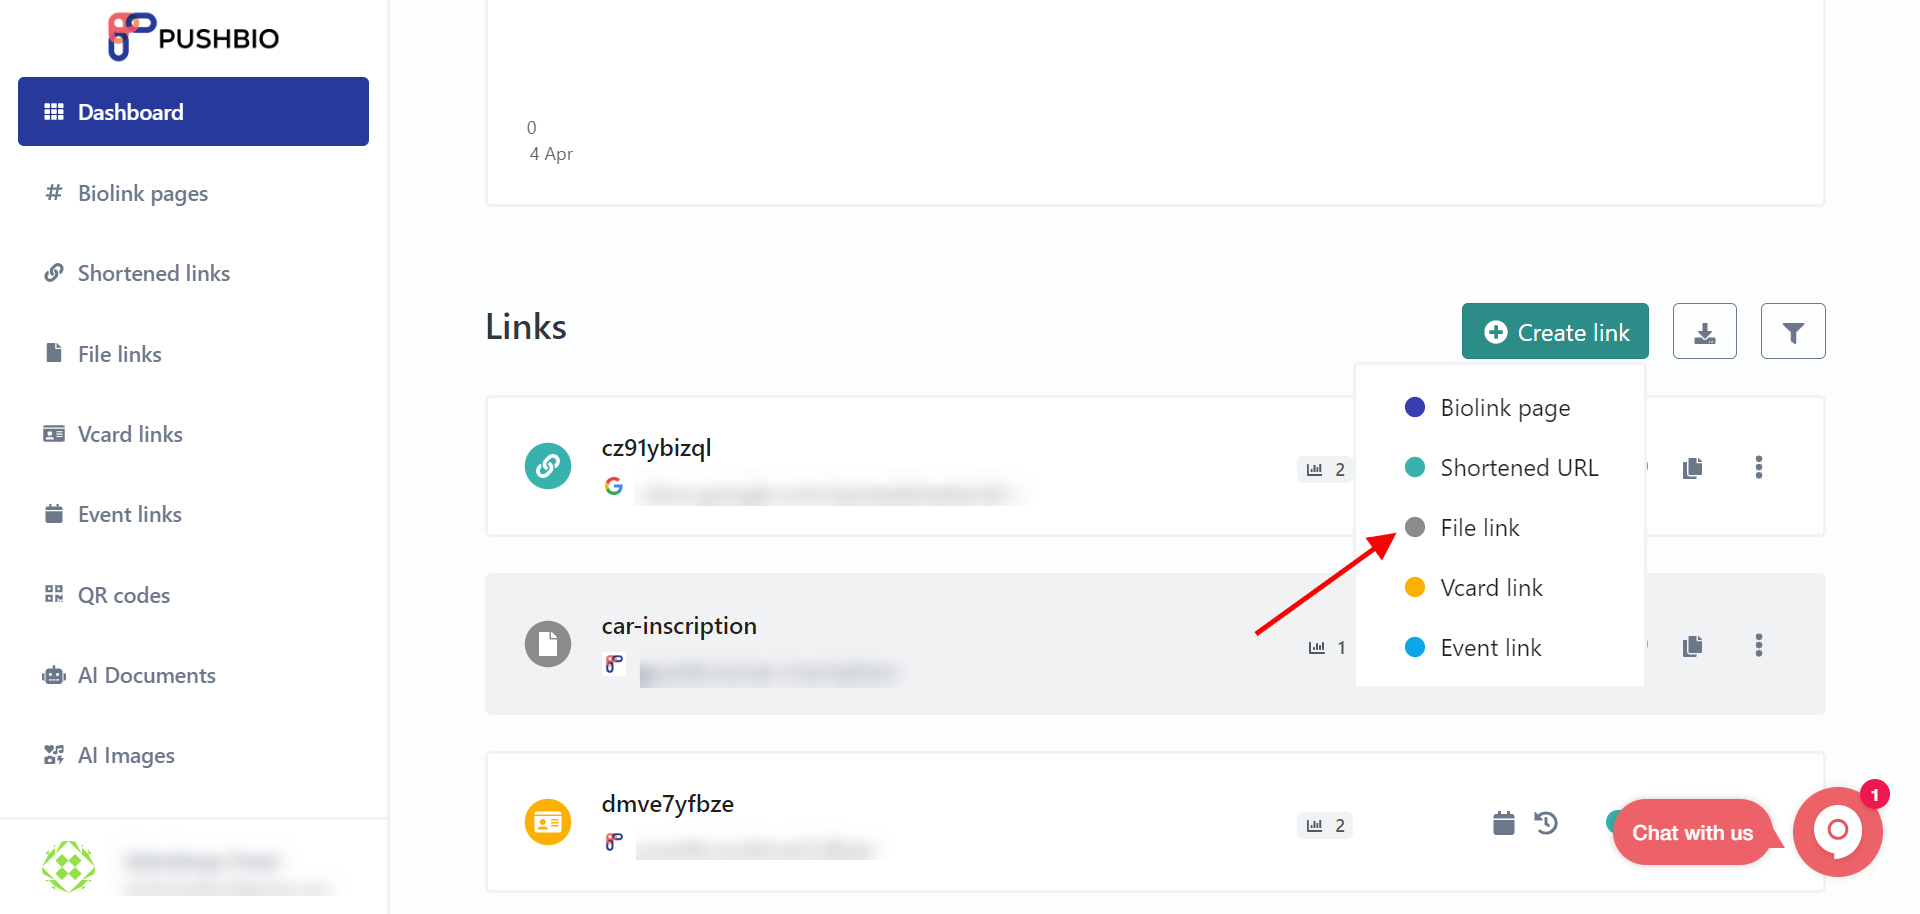
- Click on the "Create Link" button and select "File Link" from the drop-down menu
- A dialogue box is displayed, prompting you to “choose a file”. Choosing a file automatically updates it;
- Select a domain and add alias or title for the file identification;
- Click on Create File URL to finalize the process.
Editing Your File Link
To ensure we serve you best, we have also included the option of letting you play around with the user experience of your file link;
Pixels
Just like you can add pixels to biolink page and shortened link, you can do the same with file link by selecting the specific pixel you already from the already created list.
If you don't have any pixel yet, learn how to create a pixel
Temporary URL
This is similar to our temporary URL feature for editing Shortened Links. You can schedule the date and time you want your link to be active. Simply toggle the Schedule button on and select a "start and end date."
Also, leverage our "Click Limit" feature to help you control the number of clicks a link can get. Once this limit is reached, your link becomes inactive.
That's not all; you can also set an "Expiration URL" for your file link. This allows you to send visitors to that page should your main link expire. In other words, you don't have to lose the audience; we simply help you redirect them.
Protection
Want to secure your files while sending by ensuring they are not visible to any third party? Simply set a password to help you enjoy another layer of protection for your content. Visitors must supply your set password before being granted access to your files.
If your files contain sensitive materials or contents, you can also protect viewers' sensibility by turning on the "sensitive content protection" feature. This notifies visitors of the presence of sensitive content before being granted access.
When you are satisfied with your editing, it's time to click "Update" to save your changes.